Let’s embark on this journey to create a WordPress child theme together, and discover how easy it can be to take control of your website’s destiny.
WordPress, with its flexibility and endless customization options, powers a significant portion of the internet. As a website owner or developer, you’ve probably realized that making your WordPress site unique and tailored to your needs is essential. But how can you make changes without risking the stability and integrity of your website?
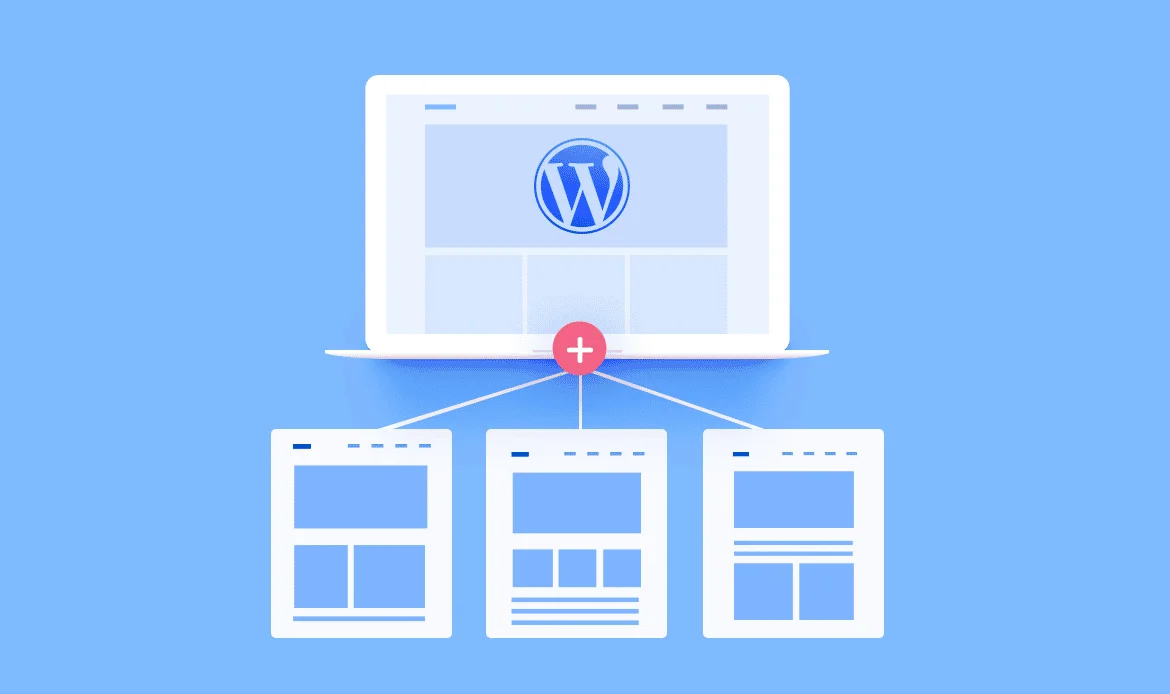
Enter the WordPress Child Theme. It’s the secret sauce that allows you to customize your site’s appearance and functionality without altering the core theme files. In this step-by-step guide, we’ll walk you through the process of creating a WordPress child theme, unlocking the power to make changes, experiment with new features, and maintain your site’s integrity, all with confidence.
What is a parent theme in WordPress?
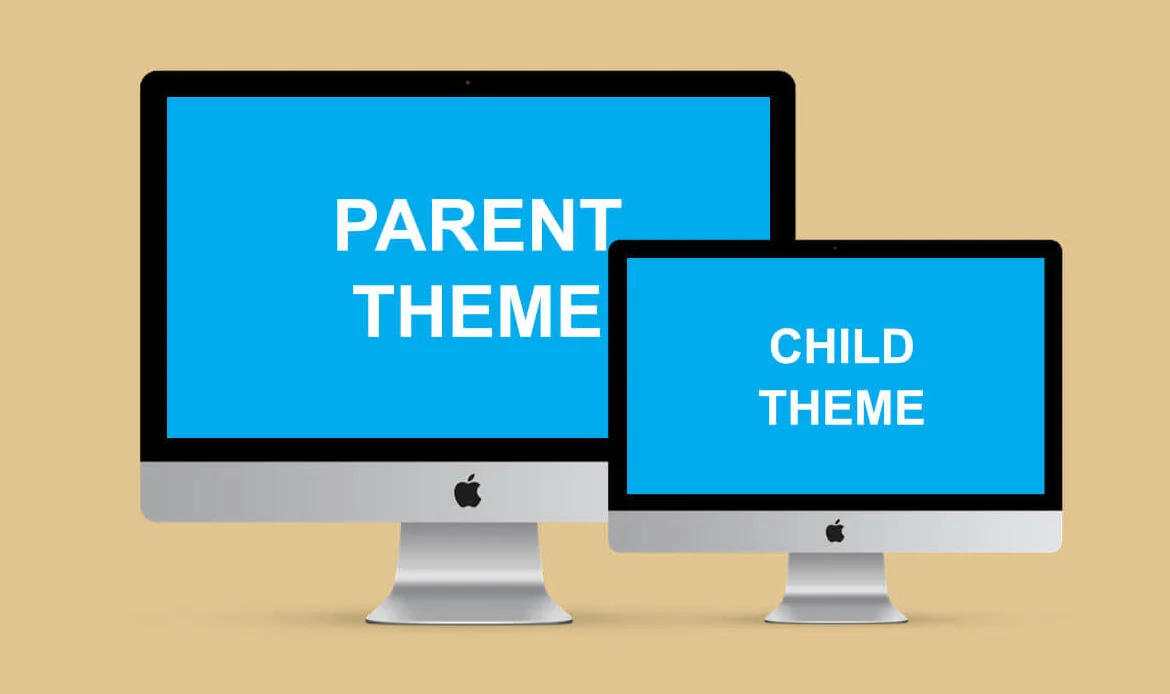
 A parent theme in WordPress is the primary or core theme that forms the foundational framework for a website’s design and functionality. It provides the essential templates, styles, and features that define a WordPress site’s appearance and behavior.
WordPress users often create child themes based on a parent theme to customize and extend the website’s design and functionality while preserving the integrity of the parent theme.
Parent themes are regularly maintained and updated to ensure compatibility with the latest WordPress version and often include options for customization to tailor the site’s look and features to specific needs.
A parent theme in WordPress is the primary or core theme that forms the foundational framework for a website’s design and functionality. It provides the essential templates, styles, and features that define a WordPress site’s appearance and behavior.
WordPress users often create child themes based on a parent theme to customize and extend the website’s design and functionality while preserving the integrity of the parent theme.
Parent themes are regularly maintained and updated to ensure compatibility with the latest WordPress version and often include options for customization to tailor the site’s look and features to specific needs.
What is a child theme in WordPress?
 A child theme in WordPress is a supplementary theme that inherits the design and functionality of a parent theme. It serves as a customization layer that allows WordPress users to make changes to their website’s appearance and behavior without altering the core files of the parent theme.
This approach ensures that customizations are preserved during theme updates and follows best practices in WordPress development, providing a flexible and stable way to personalize a website while keeping it in sync with the parent theme’s updates and improvements.
A child theme in WordPress is a supplementary theme that inherits the design and functionality of a parent theme. It serves as a customization layer that allows WordPress users to make changes to their website’s appearance and behavior without altering the core files of the parent theme.
This approach ensures that customizations are preserved during theme updates and follows best practices in WordPress development, providing a flexible and stable way to personalize a website while keeping it in sync with the parent theme’s updates and improvements.
Benefits of Creating a Child Theme
 Creating a child theme in WordPress offers several benefits, making it a recommended practice for customizing and maintaining your website. Here are the key advantages of using a child theme:
Preservation of Parent Theme: Child themes allow you to make customizations to your website’s design and functionality while preserving the integrity of the parent theme. This means that updates or changes to the parent theme won’t overwrite your modifications.
Safe Updates: Since your customizations are kept separate in the child theme, you can safely update the parent theme without worrying about losing your changes or causing conflicts. This is crucial for maintaining the security and performance of your site.
Efficient Customization: Child themes streamline the customization process. You only need to modify the specific files or styles you want to change, rather than creating an entirely new theme from scratch. This saves time and effort.
Compatibility: Child themes are designed to work seamlessly with their parent themes. This ensures that your customizations are fully compatible with the parent theme’s features and functionality.
Best Practice: Using child themes is considered a best practice in WordPress development. It adheres to WordPress coding standards and reduces the risk of errors and conflicts that can arise when directly modifying the parent theme’s files.
Easy Reversion: If you make a mistake or want to undo your customizations, reverting to the original parent theme is straightforward. You can simply deactivate the child theme.
Customization Freedom: Child themes provide the freedom to modify styles (CSS) and templates (PHP) to suit your specific design and functional requirements. You can create unique website designs and layouts tailored to your needs.
Consistency: Child themes help maintain consistency across your website by allowing you to apply the same customizations to multiple pages or sections while keeping a unified design.
Development Sandbox: They serve as a safe sandbox for development and experimentation. You can test new features, plugins, or code changes within the child theme without affecting the live site.
Community Support: There is a wealth of resources, tutorials, and community support available for working with child themes. You can find guidance and solutions to common customization challenges.
Creating a child theme in WordPress offers several benefits, making it a recommended practice for customizing and maintaining your website. Here are the key advantages of using a child theme:
Preservation of Parent Theme: Child themes allow you to make customizations to your website’s design and functionality while preserving the integrity of the parent theme. This means that updates or changes to the parent theme won’t overwrite your modifications.
Safe Updates: Since your customizations are kept separate in the child theme, you can safely update the parent theme without worrying about losing your changes or causing conflicts. This is crucial for maintaining the security and performance of your site.
Efficient Customization: Child themes streamline the customization process. You only need to modify the specific files or styles you want to change, rather than creating an entirely new theme from scratch. This saves time and effort.
Compatibility: Child themes are designed to work seamlessly with their parent themes. This ensures that your customizations are fully compatible with the parent theme’s features and functionality.
Best Practice: Using child themes is considered a best practice in WordPress development. It adheres to WordPress coding standards and reduces the risk of errors and conflicts that can arise when directly modifying the parent theme’s files.
Easy Reversion: If you make a mistake or want to undo your customizations, reverting to the original parent theme is straightforward. You can simply deactivate the child theme.
Customization Freedom: Child themes provide the freedom to modify styles (CSS) and templates (PHP) to suit your specific design and functional requirements. You can create unique website designs and layouts tailored to your needs.
Consistency: Child themes help maintain consistency across your website by allowing you to apply the same customizations to multiple pages or sections while keeping a unified design.
Development Sandbox: They serve as a safe sandbox for development and experimentation. You can test new features, plugins, or code changes within the child theme without affecting the live site.
Community Support: There is a wealth of resources, tutorials, and community support available for working with child themes. You can find guidance and solutions to common customization challenges.
How to Create a Child Theme in WordPress?
 Creating a WordPress child theme is a smart way to customize your WordPress website without risking the loss of your modifications during theme updates.
Step 1: Preparation
Before you start creating a child theme, make sure you have the following:- Access to your WordPress website
- An FTP client (e.g., FileZilla) for file transfer (optional)
- A code editor (e.g., Visual Studio Code, Sublime Text)
- Basic knowledge of HTML, CSS, and WordPress
Step 2: Create a New Directory
- Start by creating a new directory for your child theme.
- You can do this via FTP or directly on your web server.
- Navigate to your WordPress installation directory, then go to wp-content/themes/.
- Name your directory something descriptive, like my-child-theme.
Step 3: Create the Child Theme’s Stylesheet
Inside your child theme directory, create a new CSS file (e.g., style.css). This file will contain your child theme’s styles and is essential for WordPress to recognize it as a child theme. Open style.css with your code editor and add the following code:/* Theme Name: My Child Theme Template: parent-theme-folder-name */Replace My Child Theme with your preferred theme name and parent-theme-folder-name with the directory name of the parent theme you want to create a child theme for. You can find the parent theme directory name in your WordPress dashboard under Appearance > Themes.
Step 4: Enqueue the Parent Theme’s Stylesheet
To inherit styles from the parent theme, you need to enqueue its stylesheet in your child theme’s functions.php file. Create a functions.php file inside your child theme directory. Open it with your code editor and add the following code:
<?php
function enqueue_parent_styles() {
    wp_enqueue_style('parent-style', get_template_directory_uri() . '/style.css');
}
add_action('wp_enqueue_scripts', 'enqueue_parent_styles');
?>
This code tells WordPress to enqueue the parent theme’s stylesheet.
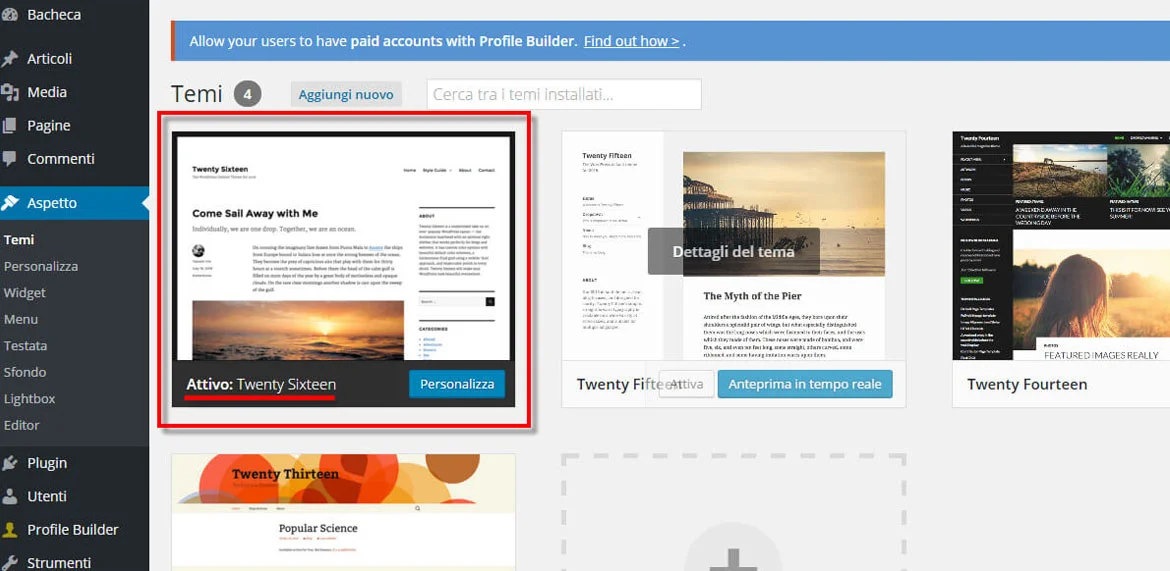
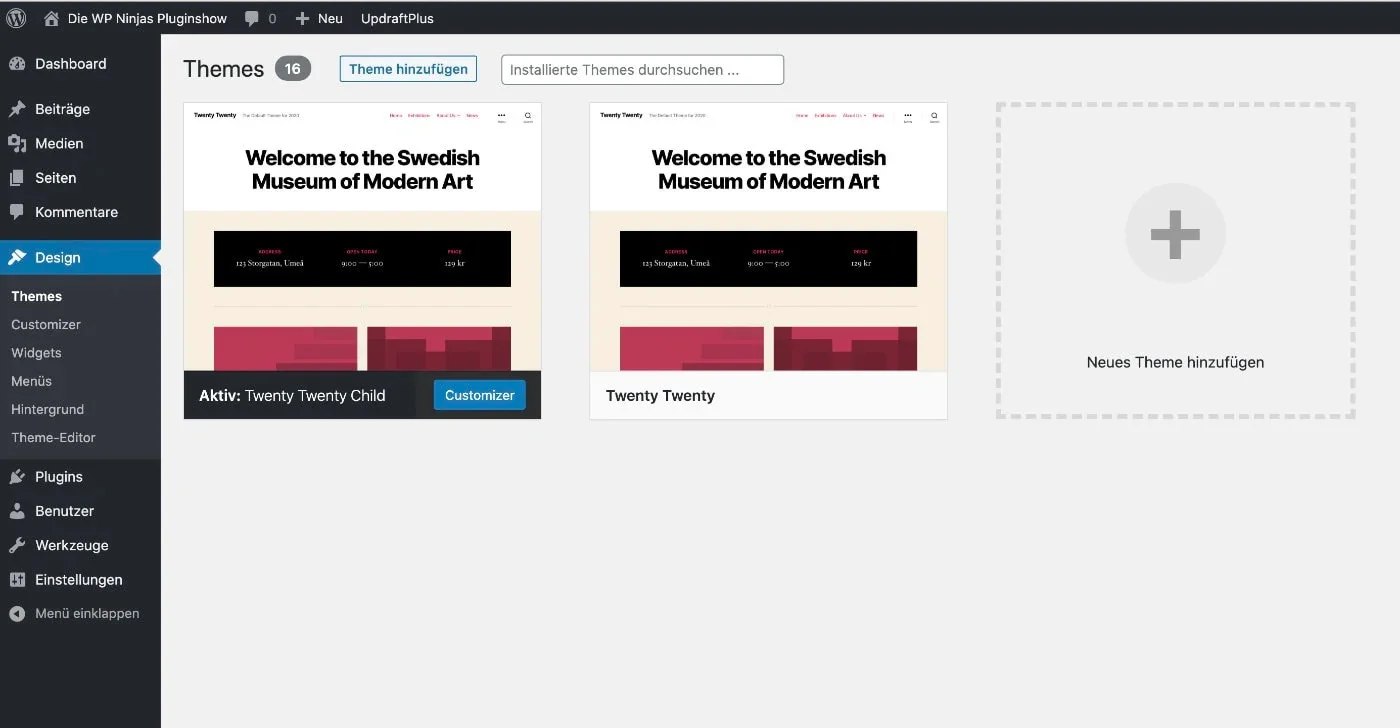
Step 5: Activate Your Child Theme
Go to your WordPress dashboard and navigate to Appearance > Themes. You should now see your child theme listed among the available themes. Activate it.Step 6: Customize Your Child Theme
You can now customize your child theme’s styles by adding CSS rules to the style.css file. For example, let’s change the background color of the header. Open style.css and add the following code:/* Custom Styles */
.site-header {
background-color: #ff6600; /* Your preferred color */
}
Save the file, and your child theme should now apply this custom style to the header.
Step 7: Override Template Files (Optional)
If you want to make structural changes to your site, you can override template files from the parent theme by creating a copy of the file in your child theme directory and editing it. For example, to modify the header.php file, follow these steps:- Copy header.php from the parent theme directory to your child theme directory.
- Edit the copied header.php file in your child theme directory to make your desired changes.
Step 8: Testing and Troubleshooting
After making changes, thoroughly test your child theme on different browsers and devices to ensure everything looks and functions as expected. If you encounter any issues, you can troubleshoot by checking for typos or errors in your code.Step 9: Child Theme Best Practices
Here are some best practices to keep in mind when working with child themes:- Regularly update your child theme to ensure compatibility with WordPress updates.
- Document your changes in the style.css file for future reference.
- Avoid modifying core files of the parent theme to maintain compatibility.
- Use child themes for customization, and plugins for additional functionality.
What other alternatives exist for generating a WordPress Child Theme?
 Creating a WordPress child theme is a common and recommended practice for customizing your website while preserving the integrity of the parent theme. In addition to the manual method I previously described, you have a few other options to create a WordPress child theme:
Child Theme Generators:
Online child theme generators like the “Child Theme Configurator” plugin in WordPress can simplify the process. They guide you through creating a child theme by selecting the parent theme and customizing options.Child Theme Plugins:
Some WordPress plugins, such as “One-Click Child Theme” or “Childify Me,” can automatically generate child themes based on the currently active parent theme.Pre-Made Child Themes:
Some WordPress themes come with pre-made child themes. Check the theme documentation or the theme developer’s website to see if they offer child themes for customization.Downloadable Child Themes:
In some cases, you can download pre-made child themes from WordPress theme marketplaces or third-party websites. These child themes are designed for specific parent themes and may offer advanced customization options.Manual Creation (Advanced):
If you have coding experience and want full control, you can manually create a child theme by creating a new directory, a style.css file with the required header information, and a functions.php file for additional functionality. The method you choose depends on your familiarity with WordPress, your specific customization needs, and your preference for convenience versus control. For beginners, using a child theme generator or plugin may be the simplest way to get started. However, if you have coding skills and want maximum flexibility, manual creation may be the preferred method. Remember that the key goal is to create a child theme that allows you to make customizations while maintaining compatibility with theme updates and best practices in WordPress development.Frequently Asked Questions About Creating WordPress Child Themes
What is a WordPress child theme and why should I use one?
A WordPress child theme is a separate theme that inherits the functionality and styling of a parent theme. It allows you to make customizations safely without affecting the original theme, ensuring updates to the parent theme don’t overwrite your changes.
How do I create a child theme in WordPress?
To create a child theme, create a new folder in the themes directory, add a `style.css` file with proper headers referencing the parent theme, and optionally include a `functions.php` file. Then activate the child theme through the WordPress dashboard and start customizing.
Can I update my parent theme without losing customizations?
Yes. One of the main advantages of using a child theme is that updates to the parent theme won’t overwrite your customizations. All changes remain intact in the child theme, ensuring a smooth and safe update process.
Conclusion
As we bring our journey through the intricacies of the 502 Bad Gateway error in WordPress to a close, it’s essential to reflect on the newfound knowledge and solutions you’ve gained. In the world of website management, where every second of downtime matters, understanding and addressing this error is a vital skill.
You’ve learned that the 502 Bad Gateway error is not an insurmountable obstacle but a challenge that can be conquered. Armed with troubleshooting techniques, insights into server-related issues, and a better grasp of the underlying causes, you’re now well-prepared to keep your WordPress site resilient in the face of such challenges.
Safely Customize Your WordPress Site with a Child Theme
Our premium themes — like Miion, Organiky, and Interiar — are built for speed, SEO, and easy customization, making them perfect foundations for your next design project.