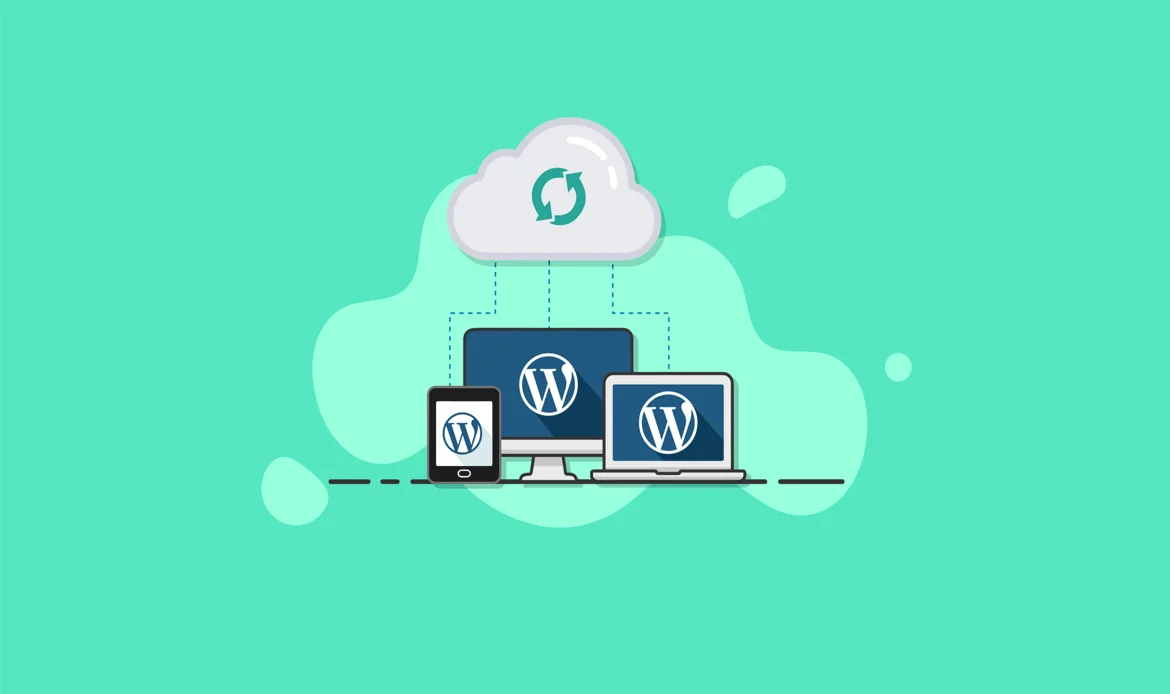
Zero Downtime WordPress Migration is the smartest way to move your WordPress website without affecting its availability, speed, or user experience. Whether you’re switching hosting providers, upgrading servers, or changing domains, ensuring zero downtime during migration is critical to protect your SEO rankings, traffic, and online reputation. In this guide, we’ll explore how to achieve a successful WordPress migration with zero interruptions, using proven tools, step-by-step strategies, and expert tips tailored for site owners, bloggers, and developers.
When you migrate a website the traditional way, users may encounter downtime, broken links, slow loading, or even temporary data loss. These issues not only hurt your credibility but can also drastically reduce your search engine rankings. That’s where the zero downtime approach comes in — a WordPress migration method designed to keep your website online and fully functional at all times.
1. What is Zero Downtime Migration for WordPress?
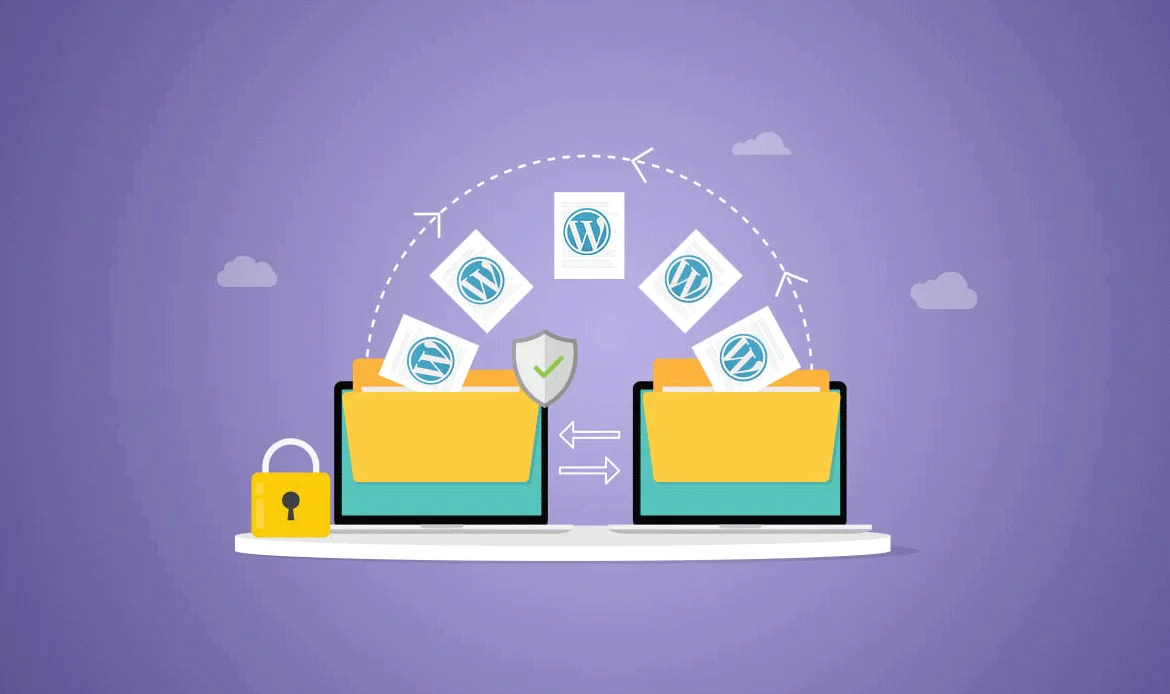 Zero Downtime Migration for WordPress refers to moving your website from one host to another (or domain/server) without any service interruption. Your visitors won’t notice anything — no “site under maintenance” message, no 404 errors, no lost SEO rankings.
2. Why You Should Care About Zero Downtime WordPress Migration

Understanding why you should care about Zero Downtime WordPress Migration is crucial for maintaining your website’s performance and user experience. When your site goes offline, even for a few minutes, it can result in lost sales, reduced traffic, and a negative impact on SEO rankings.
Even a few minutes of downtime can cause:
- Drop in Google rankings
- Lost conversions and sales
- Broken user trust
- Increased bounce rate
By using a Zero Downtime WordPress Migration, you can:
- Keep your traffic stable
- Protect your SEO performance
- Maintain user engagement
- Provide a professional experience
3. Pre-Migration Checklist (Must-Do Steps Before You Migrate)
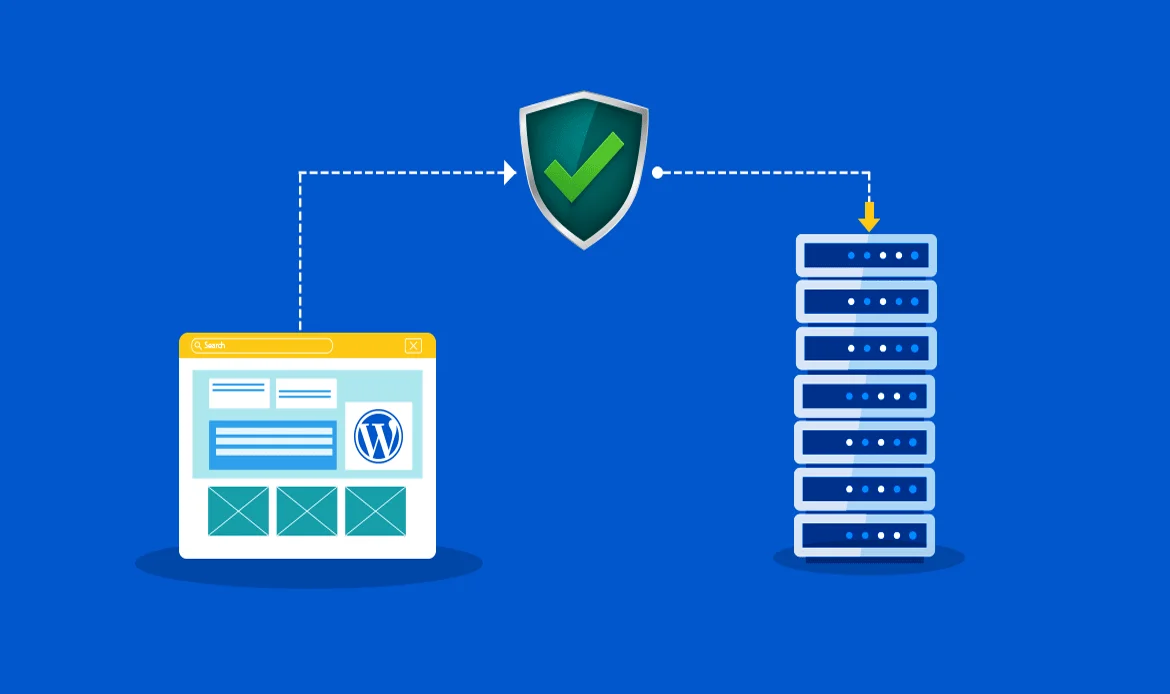
Before performing a Zero Downtime Migration for WordPress, following a Pre-Migration Checklist (Must-Do Steps Before You Migrate) is essential to ensure a seamless transition. Start by backing up your entire website, including databases, themes, and plugins. Verify server requirements on the new host, test your staging environment, and review active plugins for compatibility. Checking website performance, SEO settings, and security measures ahead of time can prevent disruptions, data loss, or broken links during migration.
-
1. Full Website Backup – Use tools like UpdraftPlus or BlogVault.
2. Check Plugin/Theme Compatibility – Avoid post-migration errors.
3. Staging Environment Setup – Clone your site to test the migration process.
4. Choose a Trustworthy Host – Ensure fast, secure, and WordPress-optimized hosting.
5. Update PHP & MySQL Versions – Ensure your new environment supports current versions.
6. Set Low TTL (Time To Live) in DNS – Speeds up DNS propagation when switching.
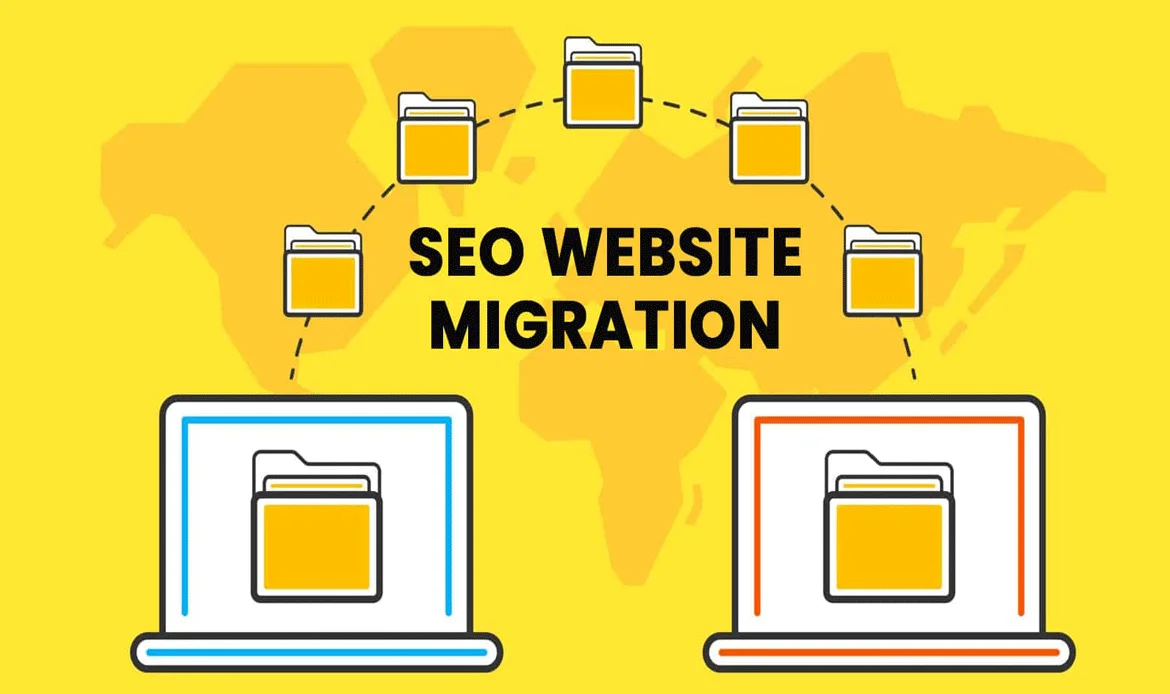
4. Step-by-Step Process for Zero Downtime WordPress Migration
Step 1: Clone Your Website
Use migration plugins such as:- Duplicator Pro
- Migrate Guru
- BlogVault
- All-in-One WP Migration
Step 2: Upload Site to New Server
Transfer your WordPress files and database via FTP or directly through the plugin’s features.Step 3: Test the Site on Temporary/Staging Domain
Before pointing your domain, test everything:- Internal links
- Forms
- Checkout (if eCommerce)
- Media files
Step 4: Update DNS Records
Now it’s time to point your domain to the new server. Thanks to Zero Downtime Migration, your live site will keep running until the DNS switch is completed globally.Step 5: Post-Migration Actions
- Clear cache
- Re-save permalinks
- Reconnect CDN (if used)
- Monitor uptime and traffic
5. 6 Key Benefits of Zero Downtime WordPress Migration
- No traffic loss during the move
- No SEO penalty or index drop
- No broken functionality or UX interruption
- Smooth domain propagation with low TTL
- Data integrity and security maintained
- Professional appearance with no “maintenance mode”
6. Common Mistakes to Avoid
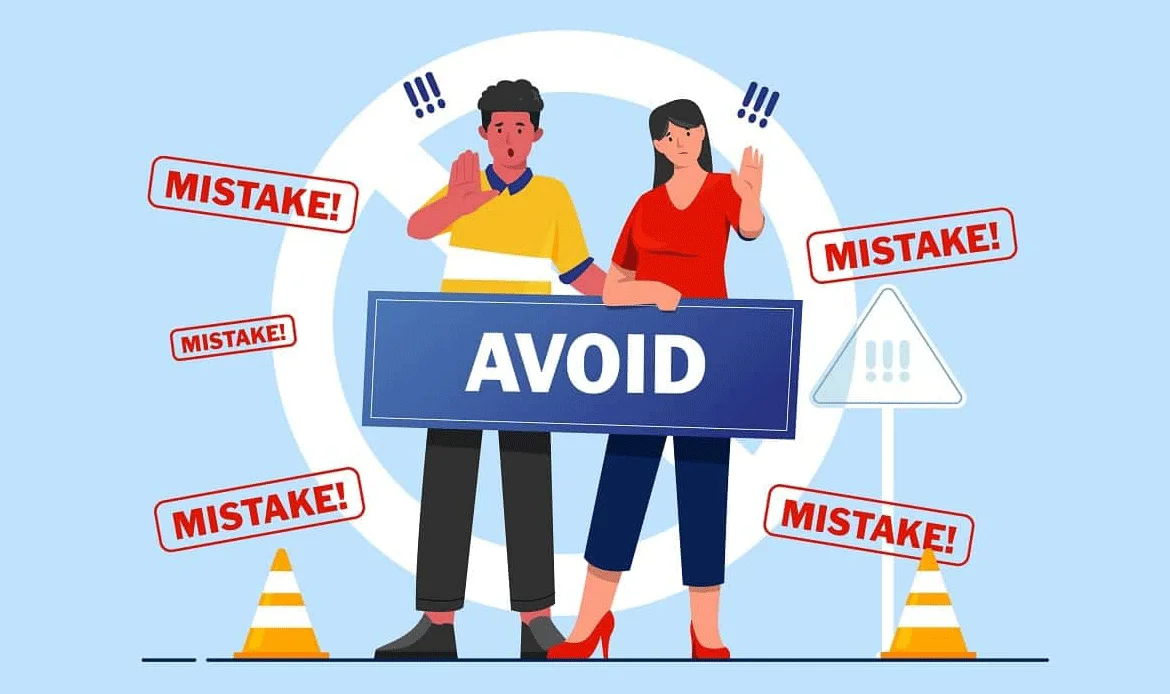
- Forgetting to back up both files & database
- Not checking for plugin compatibility
- Migrating during peak traffic hours
- Skipping test phase on new server
- Not setting up proper 301 redirects (if domain structure changes)
7. SEO Optimization During Migration
- Set up temporary 302 redirects if needed
- Ensure all canonical tags are updated
- Submit new sitemap in Google Search Console
- Monitor crawl errors and fix them
- Maintain internal link structure
8. Real-World Use Cases

eCommerce Store Migration
A WooCommerce store successfully used Zero Downtime Migration for WordPress to switch hosting providers seamlessly during its busiest sales season. The migration ensured continuous site performance, maintained customer trust, and prevented any order loss, proving how effective zero downtime strategies can be for eCommerce stability and growth.
Corporate Blog
A tech blog with 80K monthly visitors migrated servers using BlogVault with zero performance drops or broken links.9. FAQs: Zero Downtime WordPress Migration
Can I do zero downtime migration without technical skills?
Yes, plugins like Migrate Guru or BlogVault make the process beginner-friendly.
Is it safe to migrate during business hours?
Yes, if you’re using zero downtime methods — but off-peak hours are still recommended.
Will my users notice anything?
No. That’s the power of Zero Downtime WordPress Migration — the shift is invisible to users.
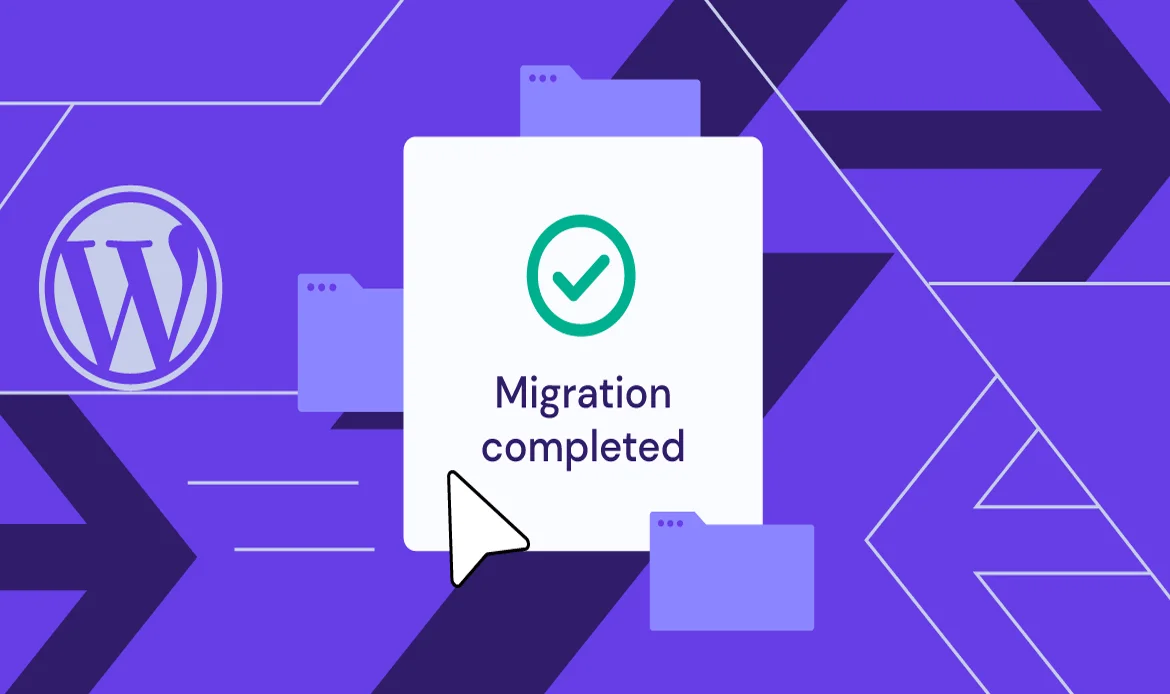
Conclusion
Migrating your WordPress site doesn’t have to be stressful or risky. With the right tools, preparation, and a Zero Downtime WordPress Migration approach, you can smoothly transition your website without losing visibility, users, or data. Whether you’re running a blog, business sites, or online store, ensuring zero downtime is essential for maintaining trust and SEO value. Follow the methods outlined in this guide to keep your website live and fully functional throughout the migration process — because in today’s digital world, every second of uptime matters.
Remember, the goal of Zero Downtime Migration is not just to transfer files or databases, but to do so invisibly to your users and search engines. By following best practices and avoiding common pitfalls, you’ll retain your site’s SEO equity, ensure a smooth user experience, and build trust with both visitors and Google.